Overview
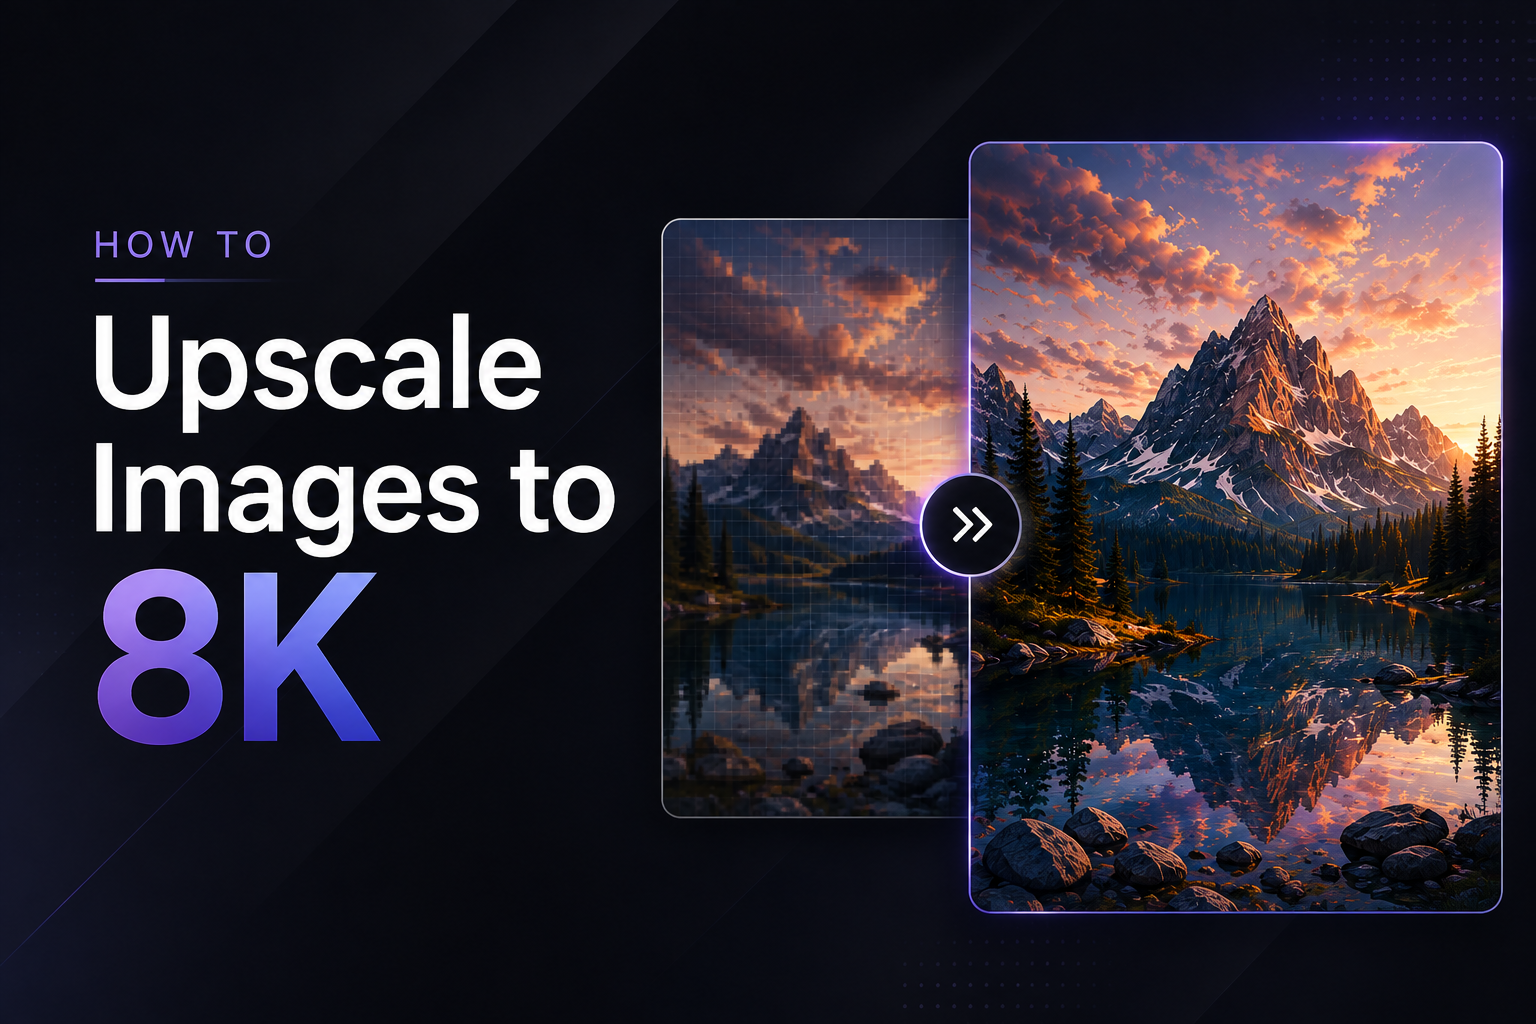
Upscale any image to ultra high-res — even 8K — for free using Upscayl, the open-source AI upscaler. No watermarks, no subscriptions, no cloud uploads. Just sharper images in a few clicks.
Have you ever found the perfect image… only to realize it's tiny, blurry, or just doesn't hold up on a big screen? You don't need Photoshop or expensive software to fix this. Say hello to Upscayl — a completely free, open-source AI tool that upscales images to ultra high-res (even 8K!) with just a few clicks. No watermarks. No limits. No catches.
Upscayl is a desktop application that uses artificial intelligence to enhance and enlarge images without making them look pixelated. It runs entirely on your computer (offline) and uses powerful models like Real-ESRGAN to predict what a higher-resolution version of your image would look like — and then creates it.
It works on Windows, macOS, and Linux, and it's 100% free — no subscriptions, no trial limits, no watermarks.
Instead of just stretching pixels like traditional image editors, Upscayl uses AI super-resolution techniques. These models are trained to fill in the blanks and add realistic detail based on the type of image you're working with — photos, anime, digital art, and more.
Think of it like this: if your 720px image is a rough sketch, Upscayl turns it into a detailed painting.
- Go to the official site: upscayl.org and click the download button for your OS (Windows, macOS, or Linux).
- Install the app like any other software — drag to Applications on macOS, or run the installer on Windows.
- Launch Upscayl. You'll see a clean, minimal interface.
Click 'Select Image' and choose the low-res image you want to enhance — for example, a 720p photo. You can also select a whole folder if you want to batch-process multiple images at once.
From the dropdown menu, pick a model that fits your image type. You can experiment to find the best result for your specific image.
- General Photo — Great for real-life photographs and everyday pictures.
- Digital Art / Anime — Best for stylized, illustrated, or animated images.
- UltraSharp — For extra edge detail; ideal for logos, screenshots, and diagrams.
- Remacri — A community model popular for portraits, producing sharper edges.
- Select an Output Folder — pick where you want the final image saved.
- Choose your upscale factor: 2x, 4x, 6x, or more.
- To hit 8K (7680x4320) from a 720px-wide source, choose 10x or use a custom upscale value.
Hit the 'Upscayl' button. The app processes your image using your GPU. Most images take anywhere from a few seconds to a couple of minutes depending on size and your hardware. Once it's done, your upscaled image is waiting in the output folder — no watermarks, no nonsense.
- Got an old photo? Try combining Upscayl with an image colorizer for an even more dramatic result.
- Always test a couple of models — sometimes UltraSharp works better for logos or artwork than General Photo.
- Heavily compressed JPEGs will upscale their artifacts too. Use the built-in 'Upscayl + Denoise' option to clean those up first.
- If you're tech-savvy, Upscayl supports custom models for even more control over the output.
If you're tired of pixelated images and don't want to pay for tools that slap on watermarks or cap your resolution — Upscayl is the answer. It's free, offline, open-source, and delivers results that rival paid software. Take that 720p image and turn it into an 8K masterpiece. You'll be surprised what AI can do.